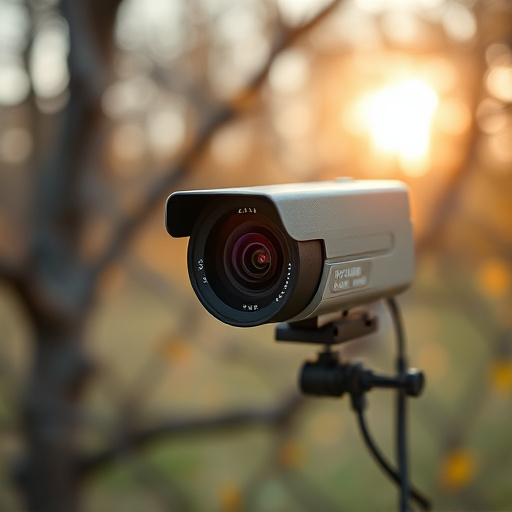
Wireless hidden camera networks offer discreet bathroom security with real-time surveillance via Wi-Fi or Bluetooth. Strategically place cameras in blind spots using ceilings, walls, and mirrors for unobstructed views. Utilize thermal imaging or RF sensors to detect hidden cameras with high sensitivity. Set up the network by connecting cameras, router, and software with secure access. Test and optimize all camera locations, settings, and network performance regularly.
Uncover the secrets behind setting up a wireless hidden camera network in your bathroom. With the rise of advanced surveillance technology, it’s crucial to understand how these networks work for effective monitoring. This guide delves into identifying potential hidden cameras, choosing the right detection equipment, and step-by-step network setup. Learn how to navigate this modern landscape, ensuring peace of mind and safety while navigating the world of wireless hidden camera systems, specifically tailored for bathroom spaces.
- Understanding Wireless Hidden Camera Networks
- Identifying Cameras in Your Bathroom Space
- Choosing the Right Equipment for Detection
- Setting Up the Network: A Step-by-Step Guide
- Testing and Optimizing Your Surveillance System
Understanding Wireless Hidden Camera Networks
Wireless hidden camera networks are a sophisticated way to monitor and secure your spaces discreetly. Unlike traditional wired systems, these networks offer unparalleled flexibility, allowing cameras to be placed virtually anywhere with minimal fuss. This is particularly beneficial for scenarios like finding hidden cameras in bathrooms, where discretion is paramount.
By connecting multiple wireless cameras to a central network, you create an interconnected system that enables real-time surveillance and remote access. This technology leverages modern Wi-Fi or Bluetooth connectivity, making it easy to set up and manage from your smartphone or computer. Understanding how these networks function empowers users to safeguard their privacy while leveraging the power of hidden camera technology for security purposes.
Identifying Cameras in Your Bathroom Space
When it comes to setting up a wireless hidden camera network in your bathroom, identifying the best placement for cameras is key. Start by assessing the layout and recognizing potential blind spots where security gaps might occur. In bathrooms, areas near entry points like doors or windows, as well as corners and behind fixtures, are common locations for hidden cameras due to their privacy-sensitive nature.
Use your bathroom’s unique architecture to your advantage. Ceilings, walls, and even mirrors can all serve as hiding spots. Ensure the chosen camera positions offer unobstructed views while remaining discreet. Remember, the goal is to create a comprehensive surveillance network without compromising aesthetics or inviting unwanted attention.
Choosing the Right Equipment for Detection
When it comes to detecting hidden cameras, especially in sensitive areas like bathrooms, choosing the right equipment is paramount. Look for specialized devices designed for non-intrusive camera detection, such as thermal imaging cameras or advanced metal detectors with RF (radio frequency) sensors. These tools can help you find hidden cameras discreetly and effectively without causing any damage to property.
For optimal results in bathrooms, consider equipment that offers real-time visual feedback and high sensitivity to electromagnetic signals. This ensures you can quickly pinpoint the exact location of hidden cameras, whether they’re installed behind walls or inside fixtures. By selecting the appropriate detection tools, you’ll be better equipped to uncover any covert surveillance devices in your bathroom environment.
Setting Up the Network: A Step-by-Step Guide
Setting up a wireless hidden camera network is a straightforward process, but it requires careful planning and attention to detail. Start by identifying the locations where you want to install the hidden cameras—for instance, finding hidden cameras in bathrooms can help ensure privacy and security. Choose spots that offer unobstructed views without drawing attention.
Next, gather your equipment: wireless cameras, a router, network switches (if needed), and a power supply for each device. Connect the cameras to the router using the provided cables or WiFi connections if they support it. Configure the router’s settings, including SSID and password, ensuring you keep these secure. Install the camera software on your devices and follow the on-screen instructions to add cameras to the network. Once set up, test each camera to confirm a stable connection before proceeding with further configuration.
Testing and Optimizing Your Surveillance System
After setting up your wireless hidden camera network, it’s crucial to test and optimize your surveillance system for maximum effectiveness. Start by locating all hidden cameras, including those in bathrooms, to ensure they are functioning properly and capturing clear footage. Use a dedicated app or software to check video quality, resolution, and latency.
Adjust camera angles, zoom levels, and lighting conditions to get the best possible view. Optimize network settings such as bandwidth allocation and signal strength to minimize interference and ensure smooth video transmission. Regularly update firmware and security protocols to protect your system from potential hacks and maintain its integrity.
Wireless hidden camera networks offer a powerful solution for detecting and preventing unauthorized surveillance in your bathroom. By understanding the technology, strategically placing cameras, and selecting the right equipment, you can create an effective surveillance system. Follow our step-by-step guide to set up your network, test its performance, and optimize privacy. Remember, staying informed about these advanced techniques is key to safeguarding your personal space from covert filming, ensuring peace of mind in your bathroom environment.